
How to Make Chocolate Chia Survival Bars
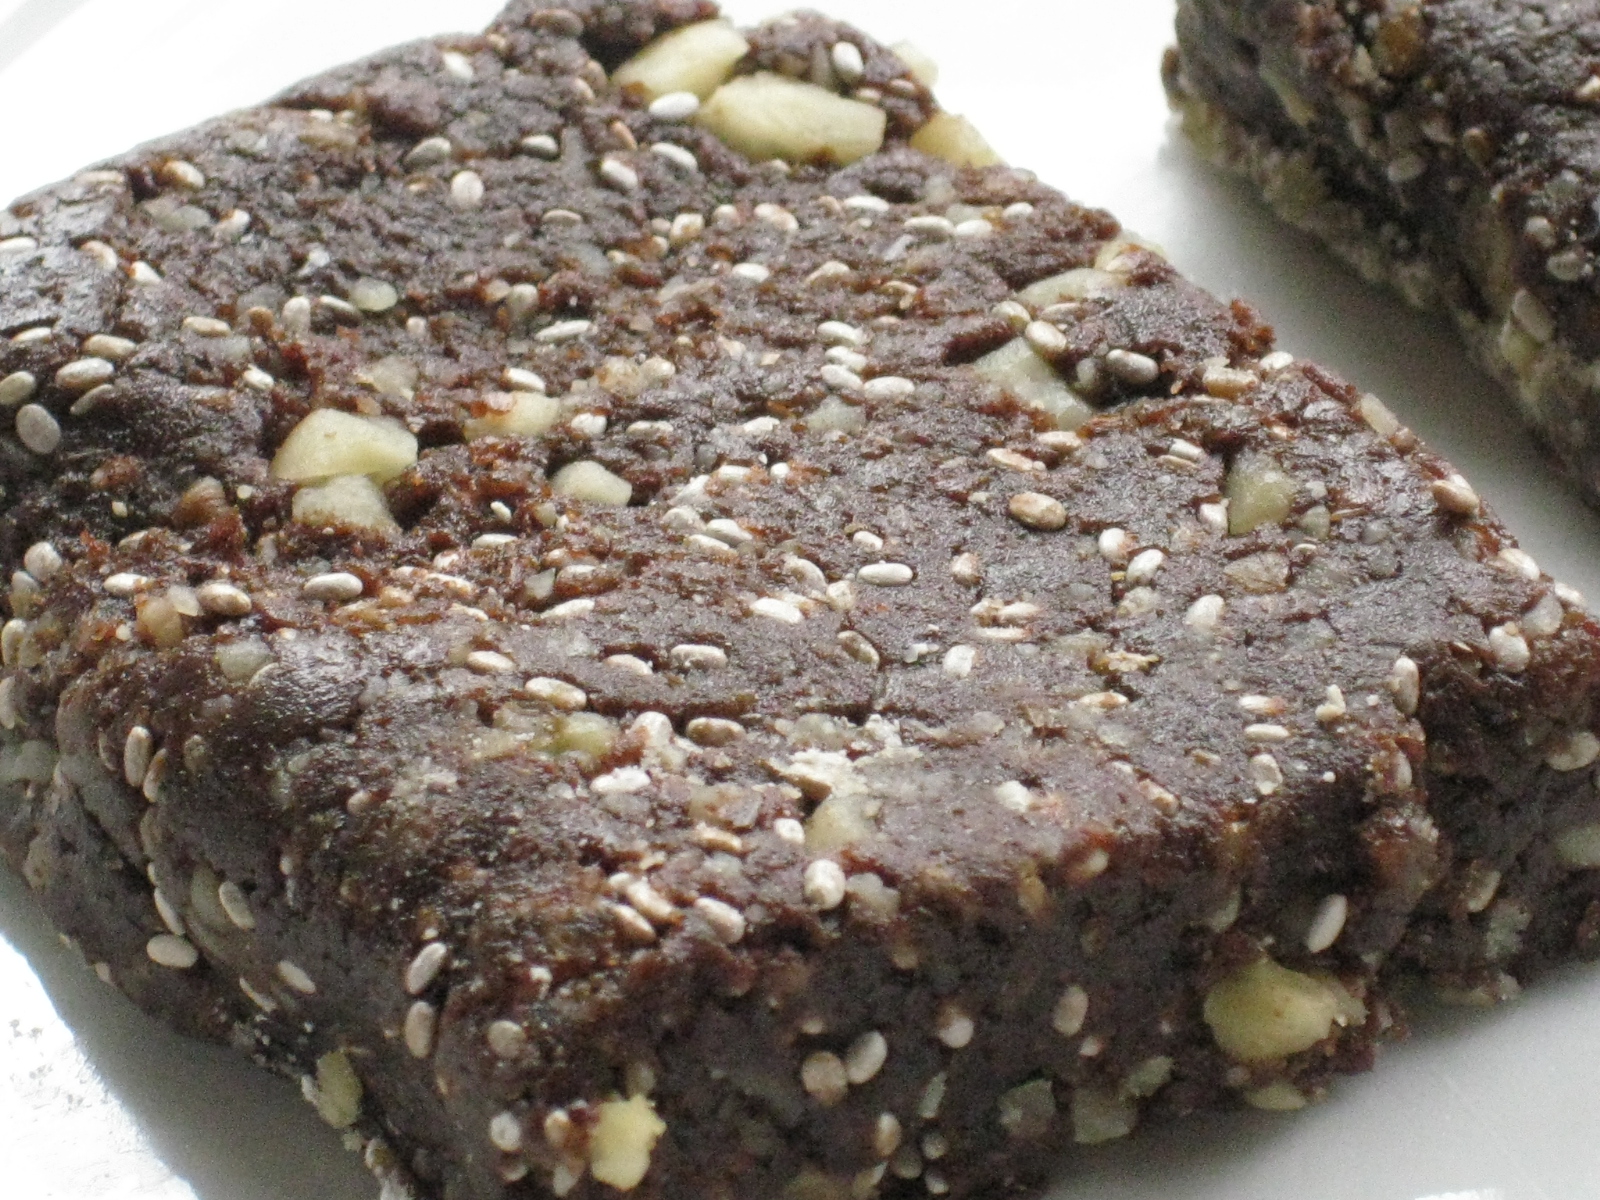
How to make homemade survival bars that actually taste good- I have now tried many of packaged survival bars, and have made a fruit flavored recipe for homemade emergency food bars with a long shelf life. I thought to myself, surely there is a better way to make a homemade survival food bar. The fruit Jello bars are good, but are awfully sweet. They also do not have the nutritional value I knew you could pack into a bar. The solution? Chocolate and Chia seeds.
If you do not know about chia seeds, keep reading. I included some nutritional info on chia, which is a pretty perfect survival food. Chia seeds pretty stay good for years, and they retain their nutritonal value as well as their flavor. They add a nice little crunch to this bar, and the chocolate combines nicely with them. I also added a scoop of protein powder to this recipe. Protein powder is one of my favorite things to add to baking mixes. It really adds value, and the flavor and texture are undetectable, at least to me. You can leave this ingredient out, if you choose.
I decided to make these bars individually. Rolling and cutting them was a tedious chore, and the bars were likely to crumble if not cut through properly. These store more easily, and it is far easier to control the exact portion size and determine nutritional value when made in the manner I describe. These round bars are much easier to get into a dehydrator. Piece of cake.
I also cut the amount of sugar from the fruit recipe. This one still has sugar, but less. I so appreciate all the wonderful feedback, comments and suggestions on the first post. I promise to keep coming up with recipes. Already have two more in mind, and at least one will be sugar free.

Ingredients for Survival Bars
-
2 1/2 cups powdered dry milk
-
2 cups oats (quick or regular will work, but I like regular)
-
1/2 cup chia seeds (need chia seeds? check out my picks below to order some)
-
1/4 cup cocoa powder
-
3/4 cup sugar
-
1/2 teaspoon salt (optional)
-
2 Tablespoons Protein Powder (optional)
-
1 package plain, unflavored gelatin
-
3 Tablespoons honey
-
1/2 cup water

So what is Chia?
Chia Seed Facts:
Why chia seeds are an ideal, storable survival food
1) Nutrition: Chia seeds are a very high source of Omega 3s, linked to a wide variety of health benefits. Chia seeds also have amino acids, magnesium, and an assortment of minerals.
2) Versatile Superfood: Chia seeds can be soaked in water, juice or tea. They can be sprinkled on salads or on cereal, and can be added to bread and pancake mixes. You can make sauces, dressings and dips from them. Chia is one of the most versatile superfoods around.
3) Affordability: Chia seeds are much cheaper than most other superfoods. In terms of the nutrition chia seeds provide, they are one of the most affordable long-term storable superfoods that we know of.
4) Shelf life and storage: Chia seeds store easily for 2 – 4 years without the need for refrigeration, and 4 or more years if refrigerated. Chia seeds do not go rancid quickly like many other seeds.
5) Allergen Free: Chia contains no gluten, wheat, corn or soy. Virtually everyone can eat chia seeds, even pets and farm animals.
6) Non-GMO: Chia seeds are completely non-GMO.
7) Taste: Chia tastes great, and does not have a strong flavor like some nutritious seeds, The taste is actually more “neutral” than anything else, meaning it goes extremely well with almost any recipe you can imagine: Smoothies, cereals, bake mixes, etc.

Step 1:


Add 1/2 teaspoon salt. (You can omit the salt if you wish. It is added for flavor)

Step 2: Stir dry ingredients


Mix well to get the chia seeds and other ingredients evenly distributed.
Step 3: Combine gelatin, honey and water


Add 1/2 cup of water (not pictured)
Step 4: Stir over medium heat until it boils
Stirring as you heat it, let the mixture come to a rolling boil. This is when the mixture keeps boiling even when stirred. Do not overheat.

Step 5: Add liquid to dry ingredients and mix
Pour the liquid mixture into your mixing bowl with the dry mixture. I highly recommend using an electric mixer, preferably a good one. This dough is thicker than most. A good mixer will have no problem. Mixing by hand will require patience. You will need to check the consistency of the dough. It should mash into a ball in your hand, not crumble. Add water, 1 tablespoon at a time, until your dough forms a ball as shown. You do not, however, want to add too much water. You only want to add enough to stick, and you may not need to add any at all.

Pour the liquid mixture into the dry mixture


Step 6: Check consistency

Take a handle of dough. Press it in your hand. If it crumbles, you will need water.
Step 6: Add water if needed
Add water 1 tablespoon at a time until the dough will form in your hand. If it still crumbles, you need water. Do not add too much. Add one tablespoon, mix, check. Add more as needed. You may not need to add any, but in dry climates, this is often necessary.


Step 7: Measure portions, pack and form
I used a 1/4 cup scoop to measure my bars. ( I am measuring the 1/4 cup before packing the dough in the cup) Then, I packed the mix in, turned it over on a wooden cutting board, and flattened the bars, rounding the edges with my hand. You will need a nonstick surface for this. A wooden cutting board is recommended.


Step 7: Repeat Step 6 until finished
This recipe makes approximately 16 bars when you use a 1/4 cup measure.

Step 8: Bake or dehydrate your bars
Baking Instructions:
Heat your oven to 200 degrees. Place the bars on a cookie sheet and bake for 2 hours. Cool before storing


Dehydrating Instructions:
Place your bars on a dehydrator rack, spacing them so that they do not touch. Dehydrate for 3 hours. Cool before storing.


Step 9: Store bars, or serve.
I served mine…We had to try them. I still have a few left, but more were eaten than not. A good sign. Would love to know what you think when you try them!

