
How to Easily Restore Cast Iron
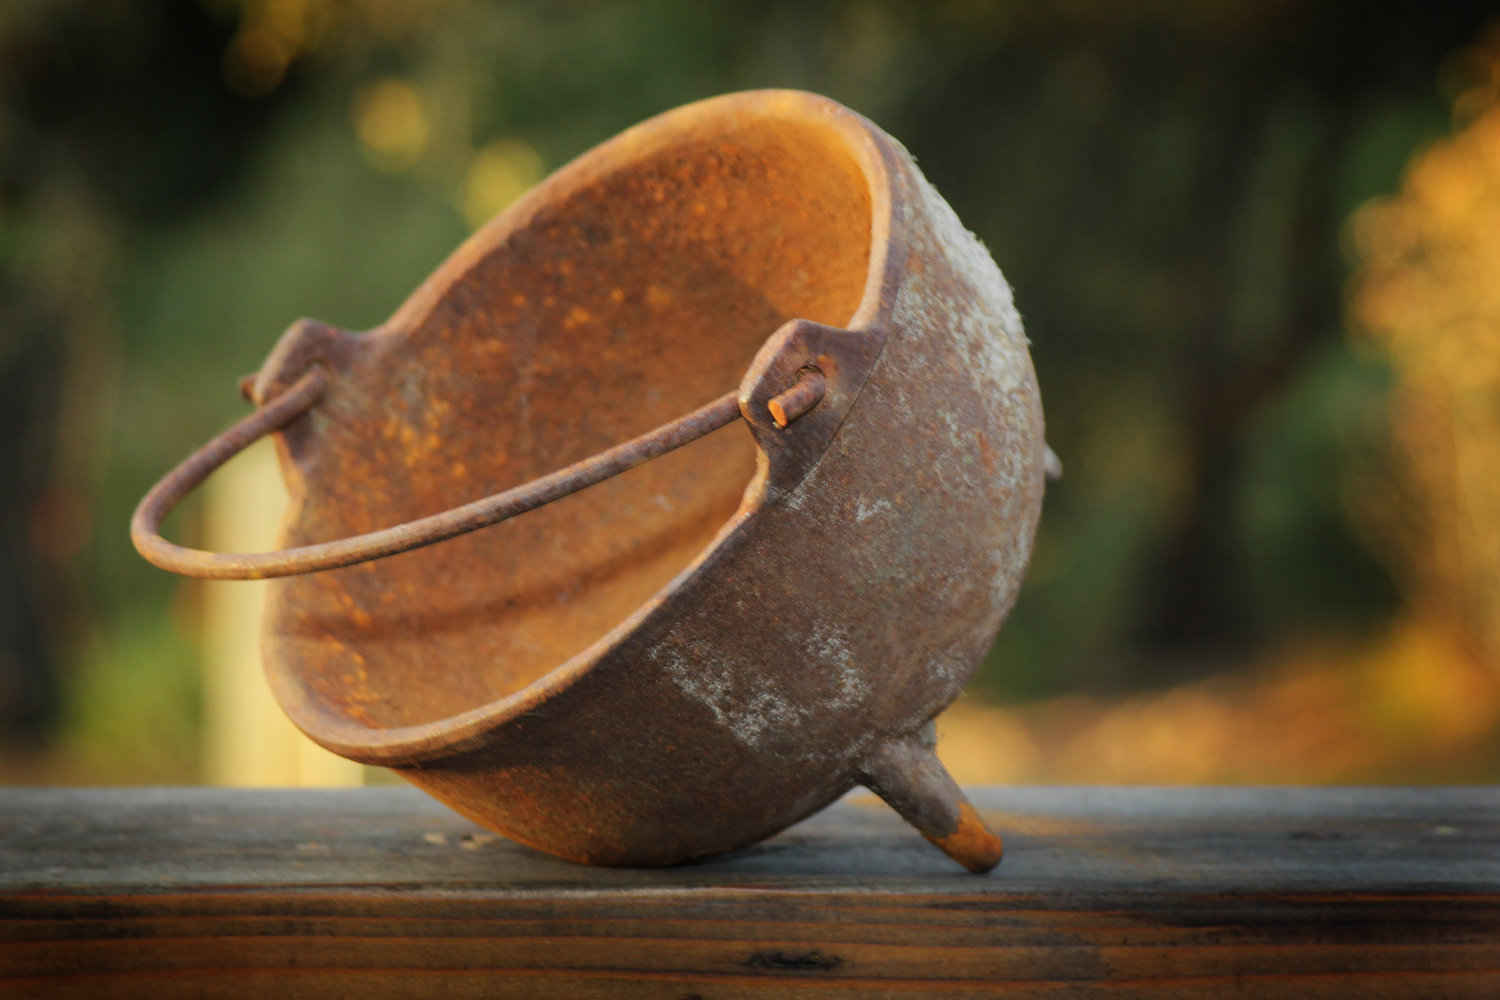
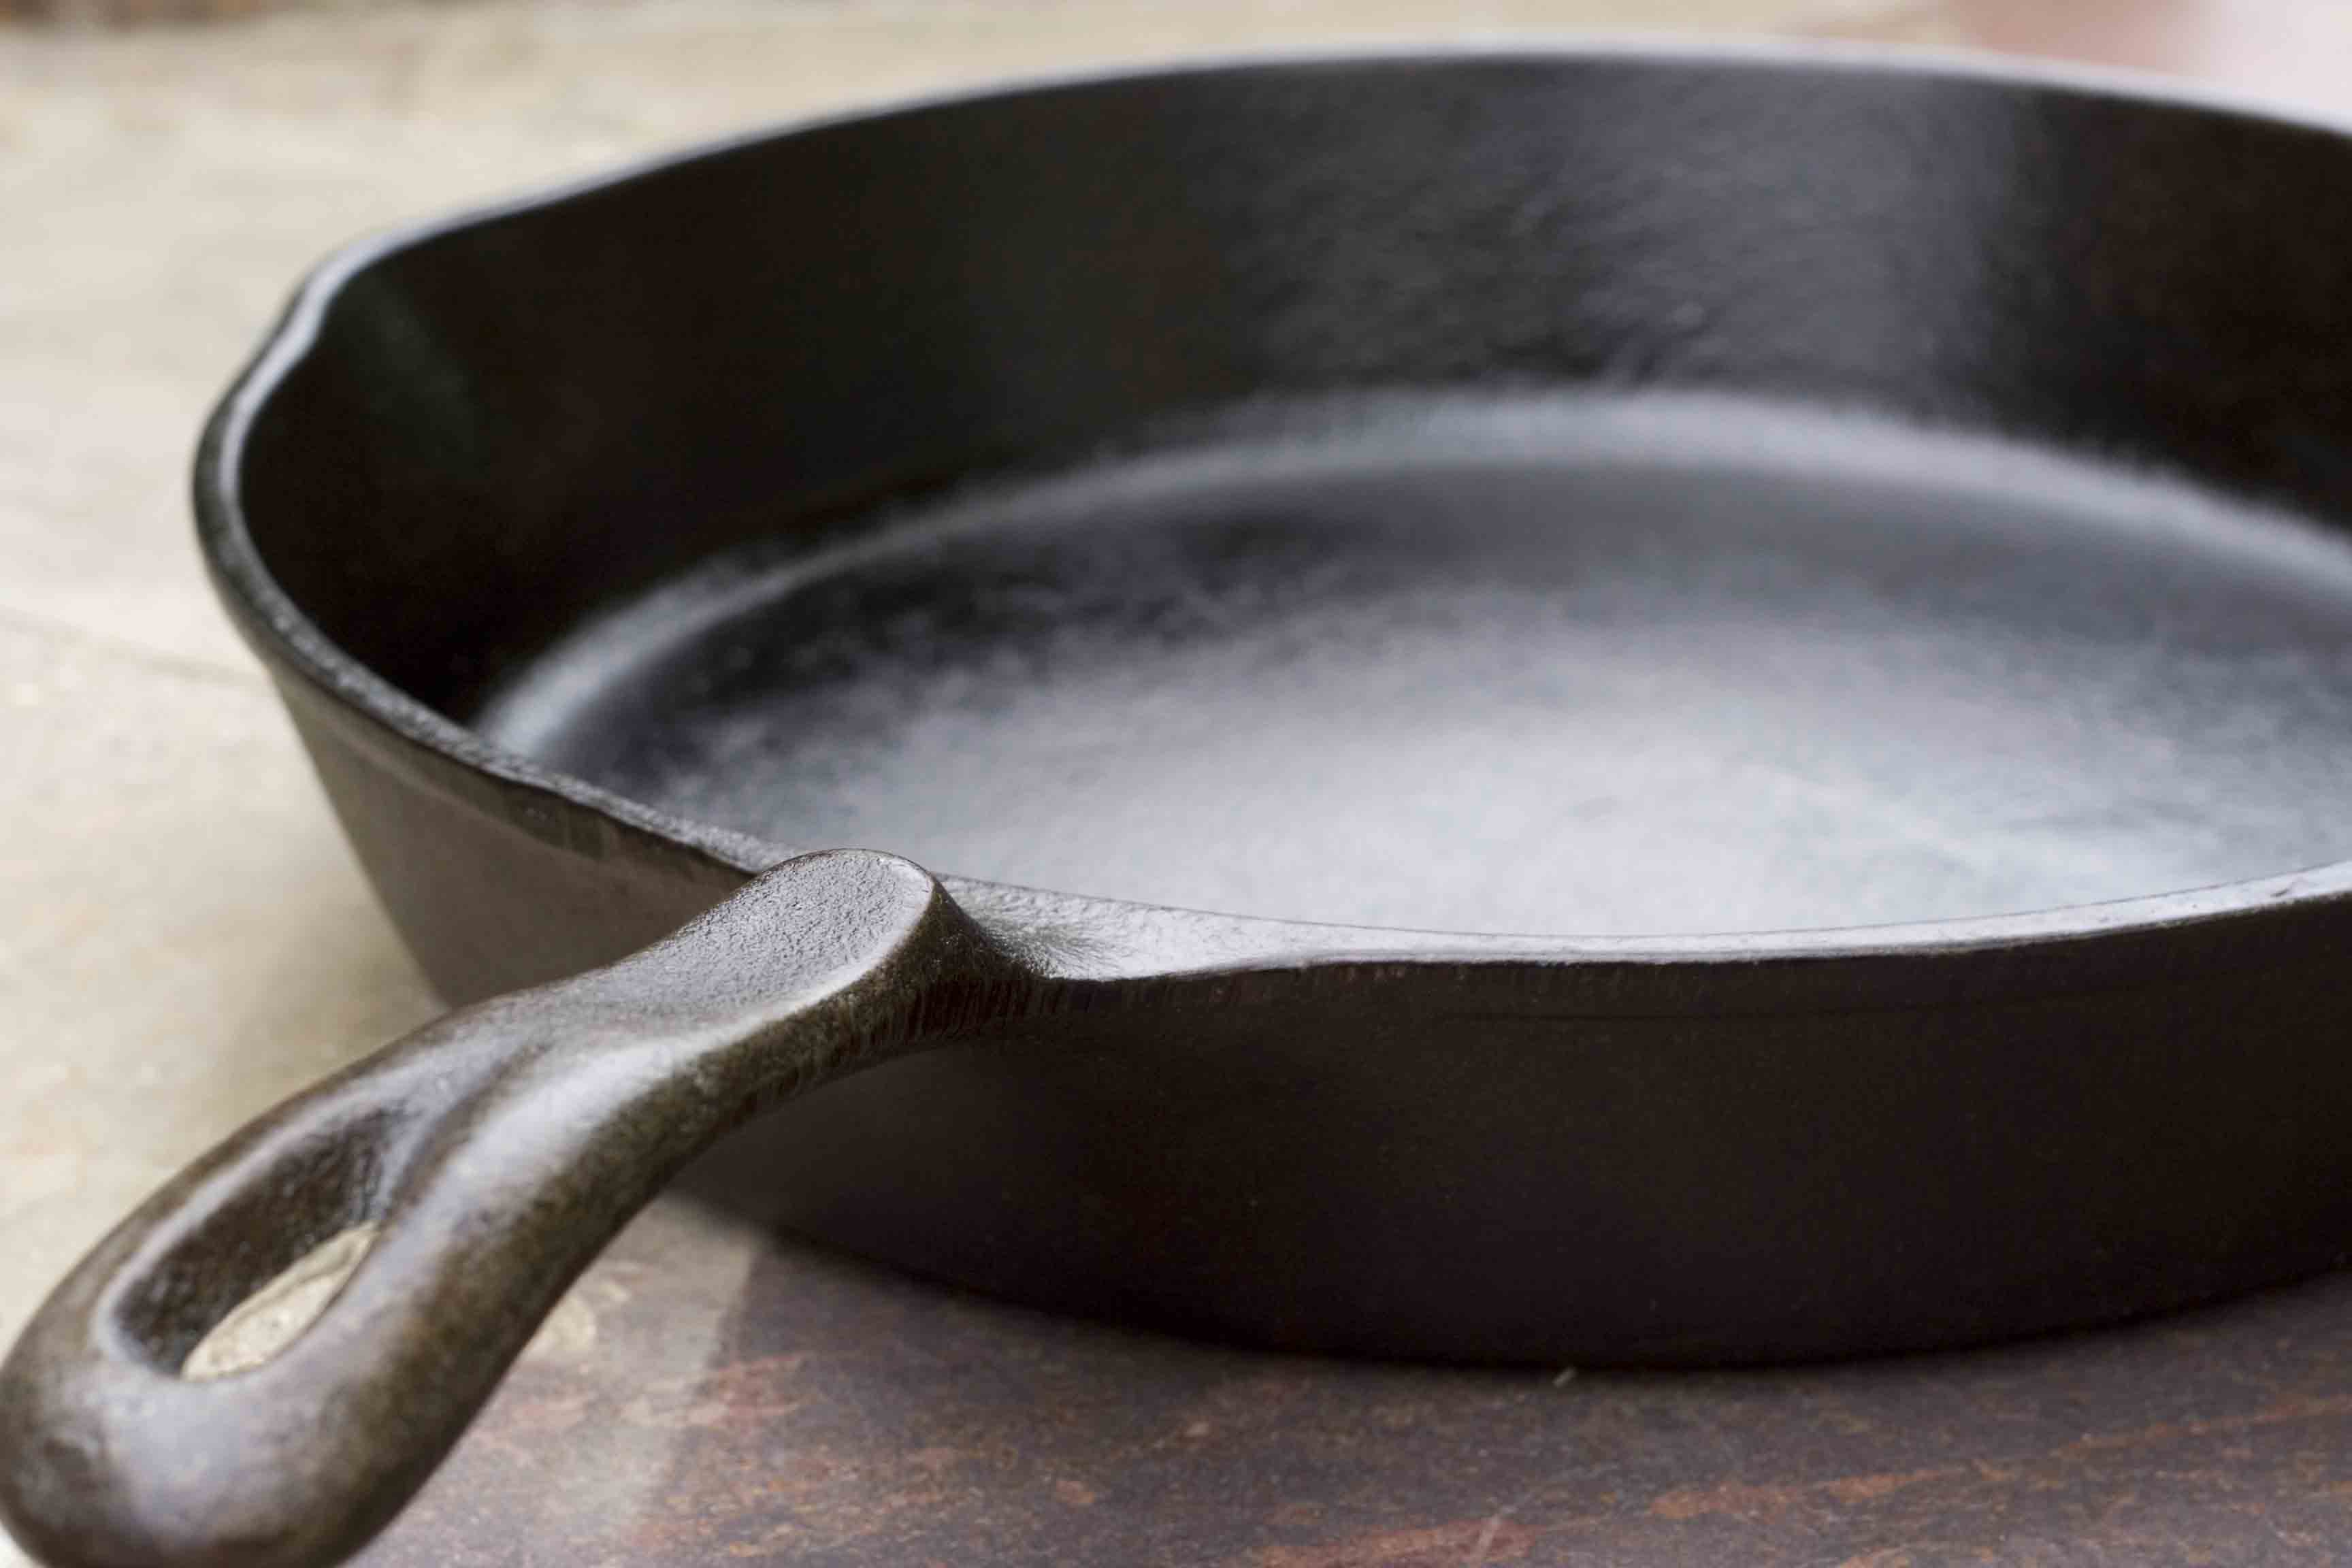
Cast iron skillets, pots and ovens can last forever, and they are some of the best hardware you can use for outdoor cooking. However, they are also prone to corrosion and damage if they are not cared for properly. The good news is that there is an easy way to cure or season rusty and seemingly worn cast iron skillets or pans. Take a look at this simple solution, and see how you can apply it to one that otherwise seems like a lost cause.
Choose the Right Product
Some cast iron is coated with special compounds that make it more resistant to corrosion, regulate temperatures better and provide a non-stick surface. Never use the following re-seasoning method with any cast iron products that have been treated with any additives. It can corrode the material, damage the pan and possibly release toxic fumes or create other types of hazards.
Important: Wear Protection!
This trick involves the use of lye-based oven cleaners, and these are very caustic. It’s important to follow the directions on the label and take precautionary steps. However, you should always adhere to the following guidelines as well:
Always wear eye protection, put on a surgical face mask and wear thick rubber cleaning gloves. You should also consider wearing long sleeves and jeans as well as an apron to protect exposed skin if you get splattered. Fill the bucket up with water BEFORE adding the oven cleaner. If you place the lye in first, you will create a chemical reaction that can be very toxic, messy and dangerous. Putting in water first ensures that the mixture will be stable and safe to work with.
The Bucket Method
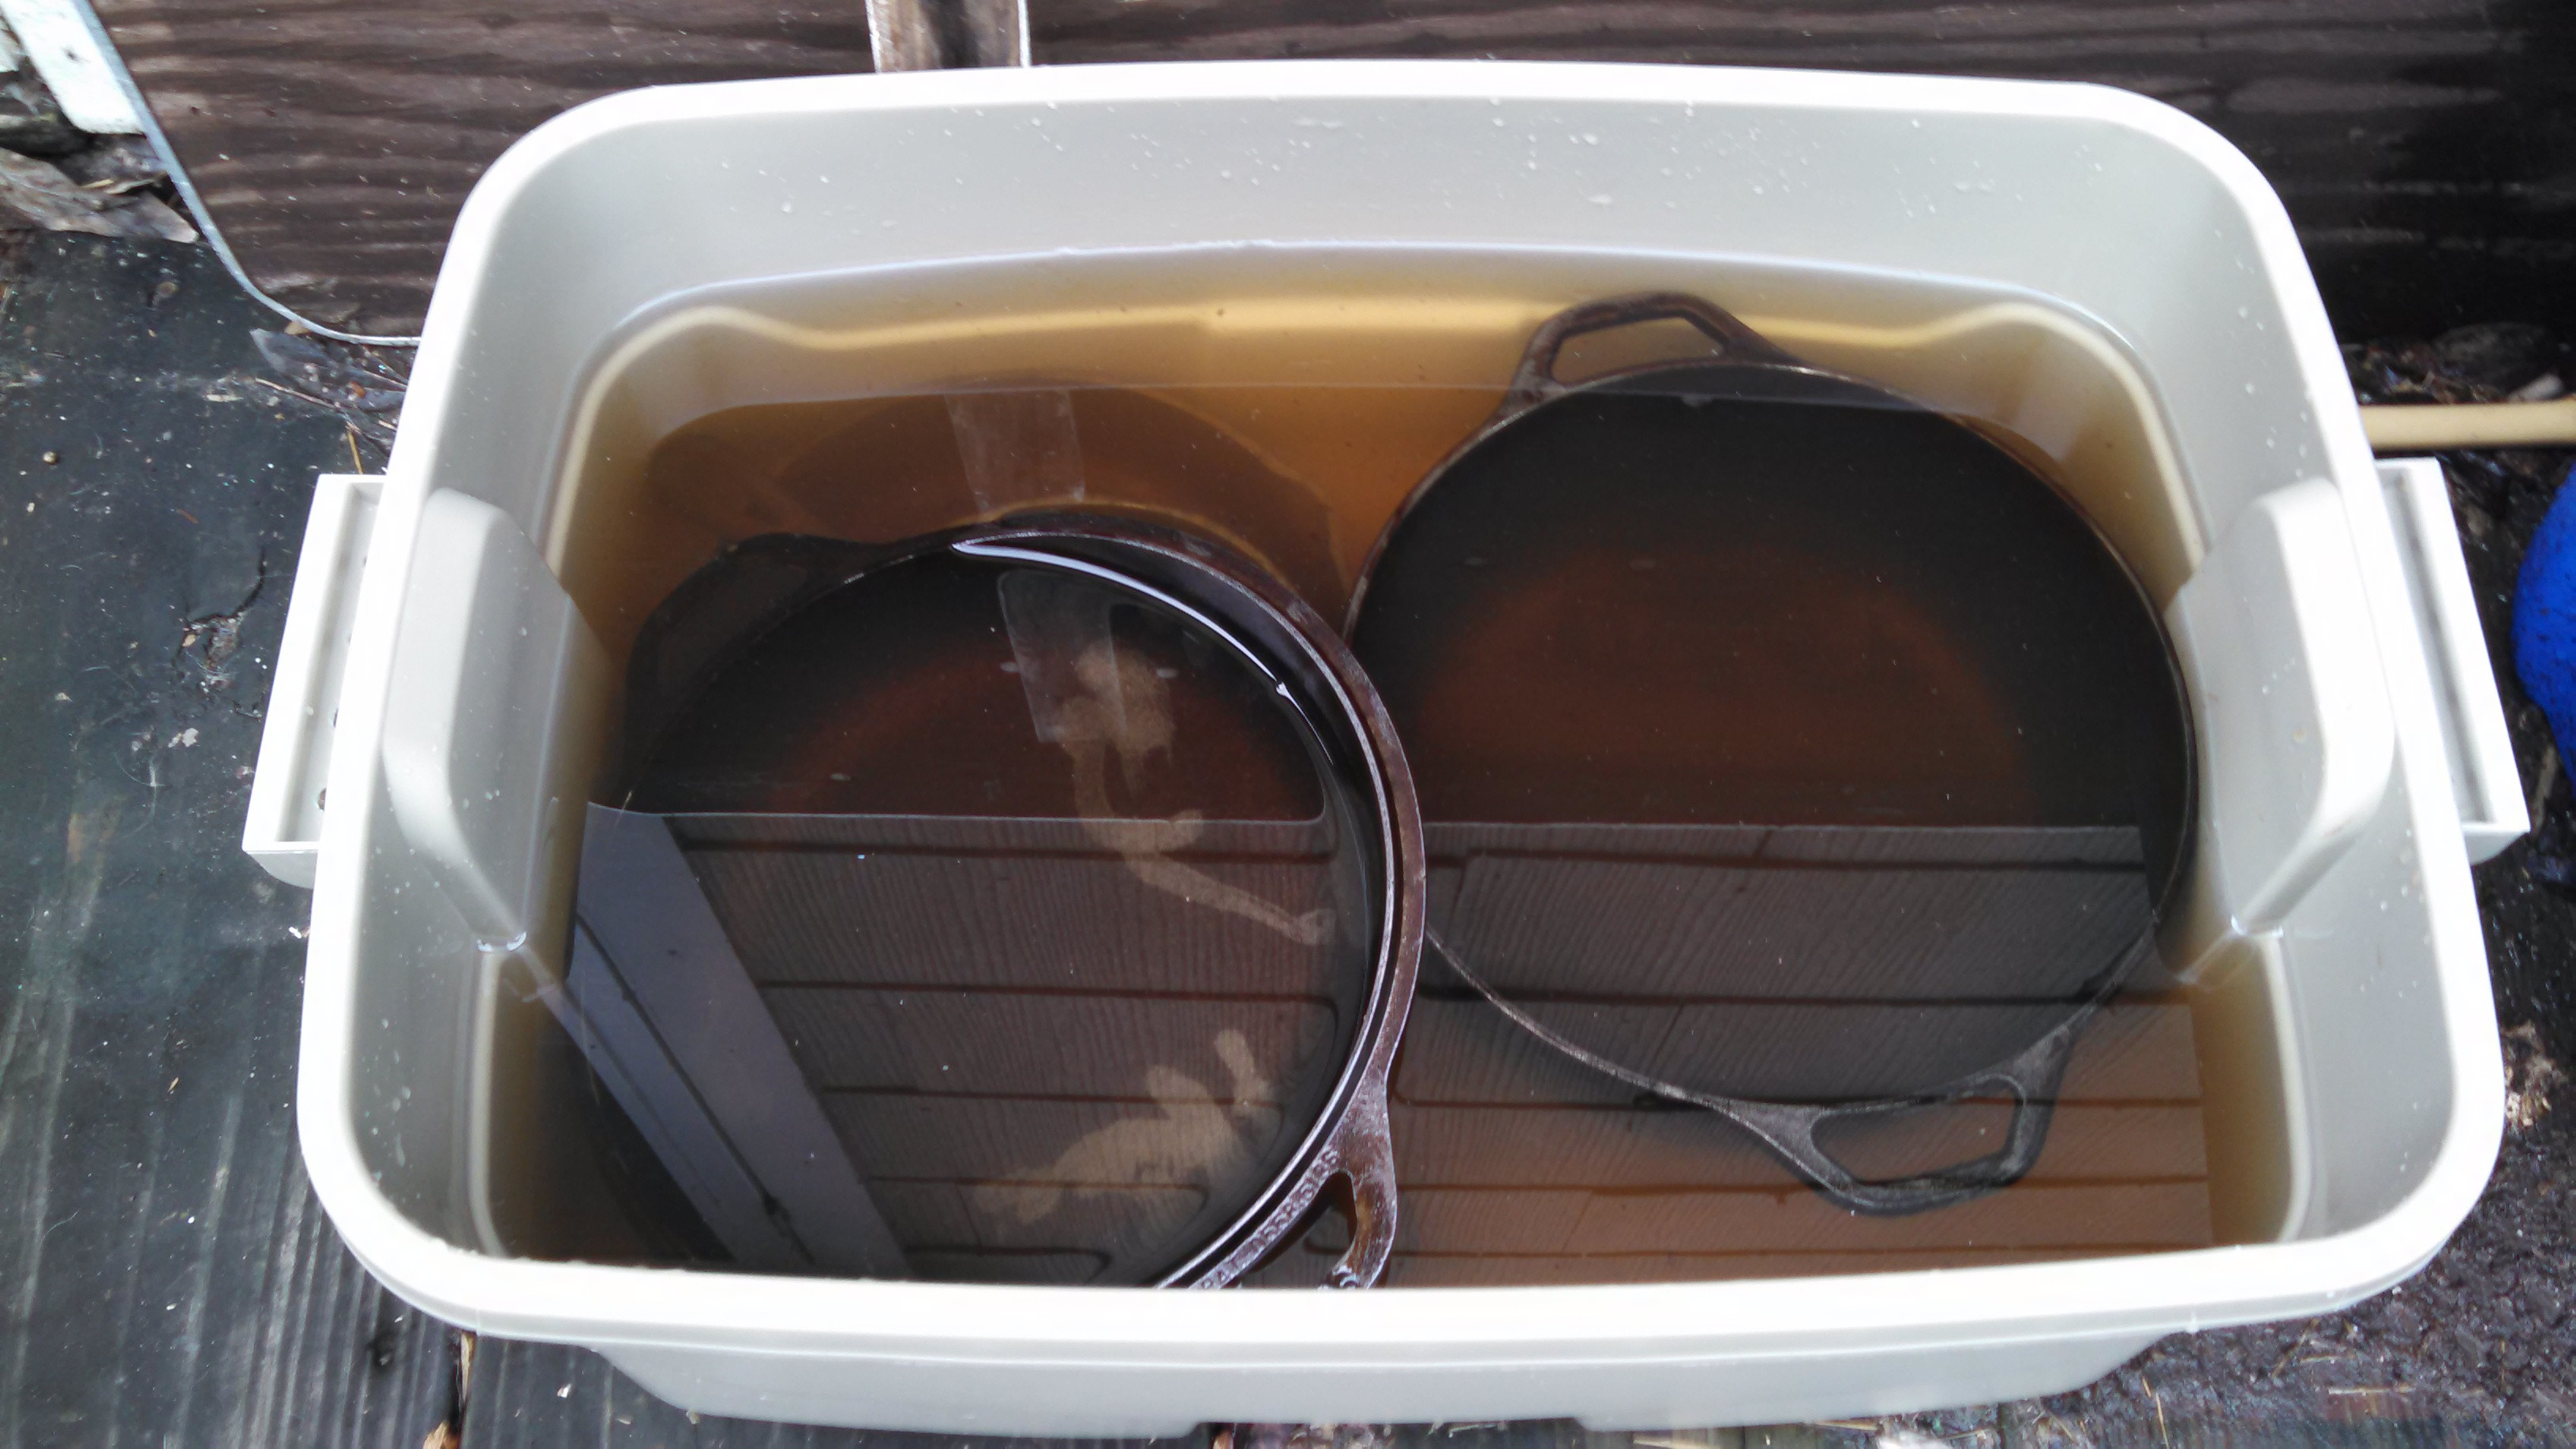
Fill a bucket with five gallons of hot water and add about a pound of lye-based oven cleaning powder or liquid. Specific ratios will vary from product to product, but expect to something similar to these proportions. Mix the ingredients with a toilet brush, long wooden spoon or other similar tool. The water will become murky and keep mixing until everything is thoroughly blended together.
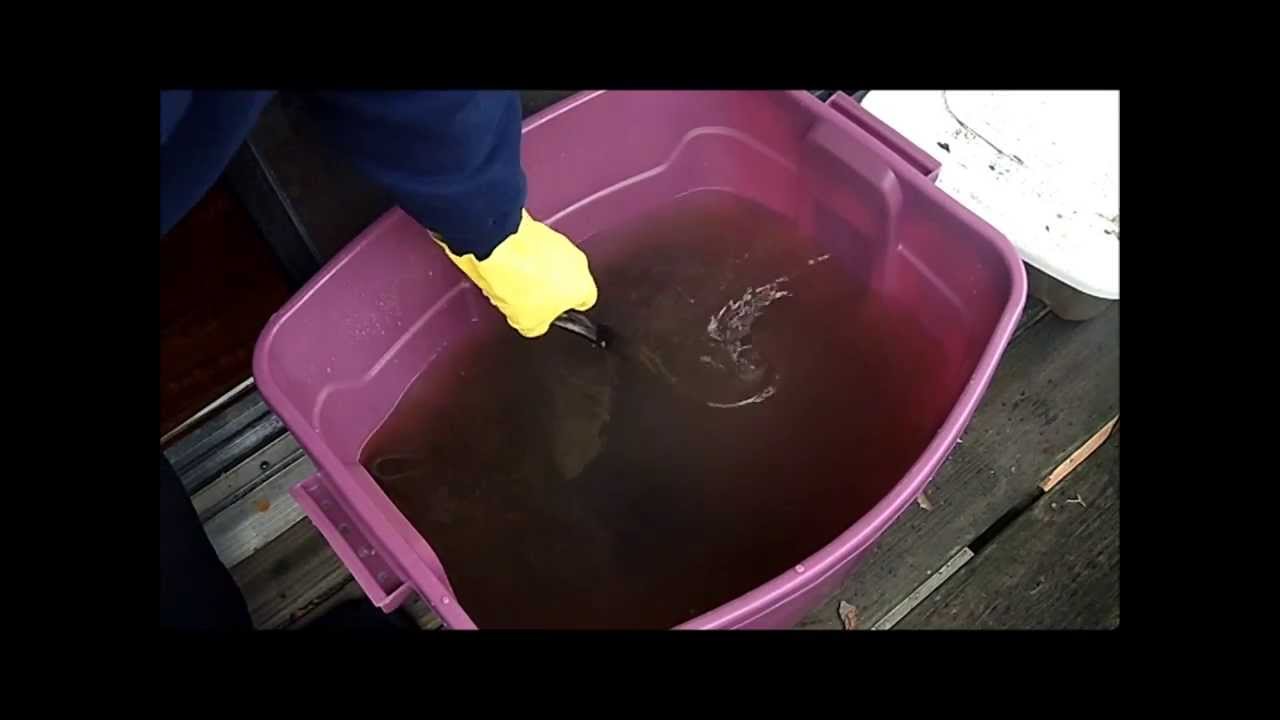
Grab the skillet by the handle, with your rubber gloves on, and gently lower it into the bucket. Try to let the end of the skillet rest on the bottom of the bucket before lowering the handle into the liquid. This will minimize the chances of splattering and potential injury. Let go of the handle just before it reaches the water. If you get your glove wet, make sure to immediately rinse it with warm water until it washes off. Do not take off the glove to do this, and make sure that you don’t touch any part of your body or clothing with the tainted glove. Once it’s clean, you can remove the gloves and proceed to the next step.
Cover the container with a lid and let the pans soak for about four days. Take another bucket and fill it with three gallons of water and pour in a ½ to ¾ gallon of vineger and mix. Put on the rubber gloves and retrieve the pans from the cleaning bucket and place them into the vinegar and water. The vinegar will neutralize the lye and make it safe to touch once the pans and gloves have been soaked in the water.
Let the pans soak for a few minutes before taking to the sink and to finish the cleaning process. You will notice that the vast majority of residue and grime will be gone, and most of what remains can easily be removed with some cleanser and steel wool or pot scrubber.
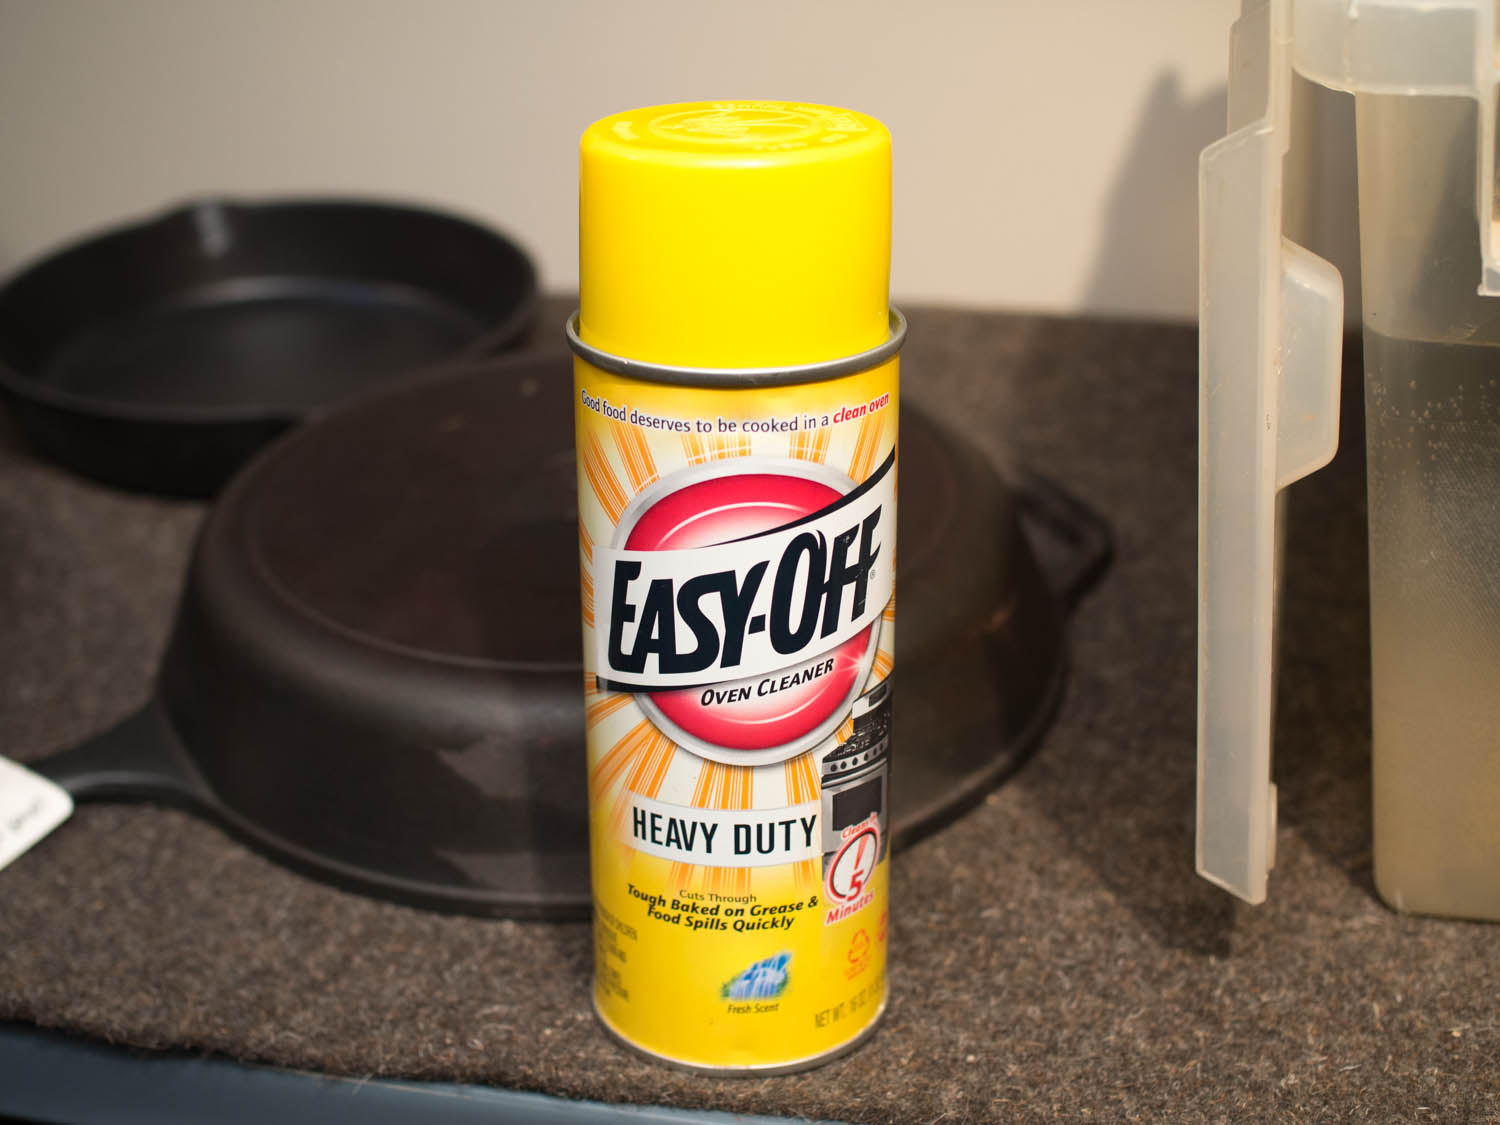
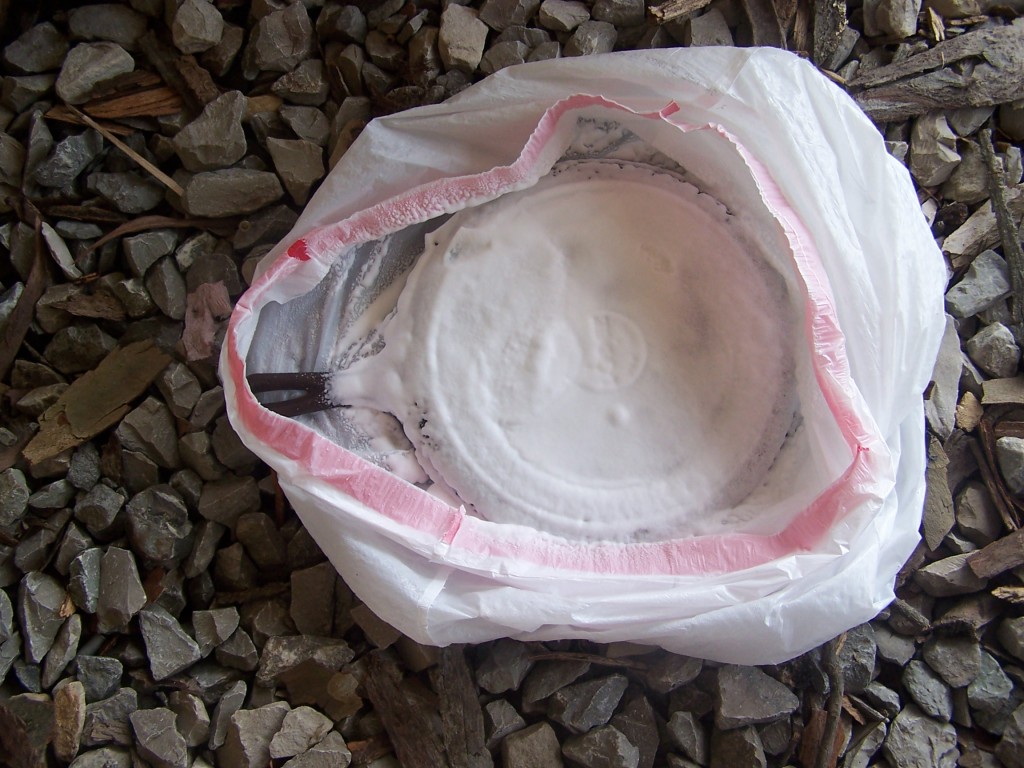
The Bag Method
Take the pans into a well-ventilated area and wear the protective gear as mentioned above. Spray the pans with a lye-based FOAM oven cleaner. Make sure that you cover all of the skillet and the level of foam is consistent across the surface. Place the skillets into plastic kitchen garbage bags, one to each bag, tie them off and let sit on a concrete surface for two to three days. Check the pans to see how much grime is left, and feel free to add another coat of oven cleaner and let soak for an additional day or two if necessary.
Remove the slimy, greasy and gooey residue that will now be present on the surface of the pans with any type of towel. Make sure that you are wearing the gloves during this process. Discard the towels immediately after use.
Fill a bucket with enough warm water to completely submerge the pans. Add vinegar at a ratio of two parts water to one part vinegar. Gently place the pans into the water and let soak for about an hour. This will help to neutralize the cleaning solution while also helping to eat away at rust and other imperfections on the pans. Remove and wipe the pans completely dry.
Seasoning
There are differing opinions as to how to best season the cast iron. You can either heat-treat the pans before applying some lard, or you can apply some olive oil to them without using the oven. Chances are that heat treating will provide a longer cure, but if you are seasoning the pans after each use, then chances are that rust will not be a big problem.
Cold oil seasoning is easy. Just take some olive oil and rub it all over the pan. Wipe away any excess until there is a slightly-moist coating all over the surface.
If you choose to heat-treat the pans, place them in a 250 degree oven for about 15 minutes. Then raise the heat to 500 degrees and let the pans sit for about 45 minutes to an hour. Turn off the oven and remove the pan. Rub the lard over the hot surface with a generous coating. The heat from the pan will cause it to smoke and break down. This is normal and part of the curing process. Wipe away any excess drippings and return the pan to the oven, upside down. Let the pan cool naturally before giving it another wipe before putting it away.
Try both of these methods out and see how these simple steps can restore almost any cast iron skillet. You will be amazed at how you can bring these items back to life without exerting a lot of effort from scrubbing and scraping.